June 6, 2020
by Traci Gardner
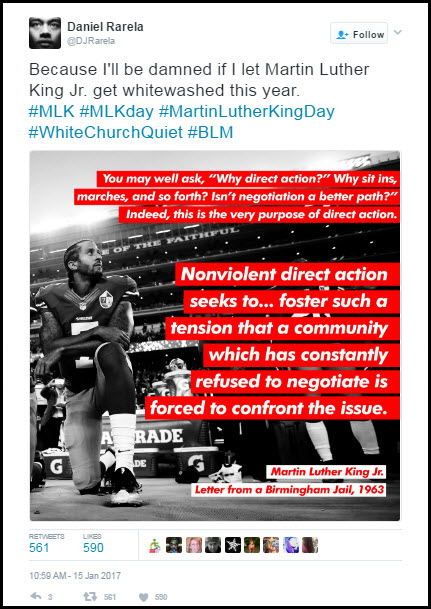
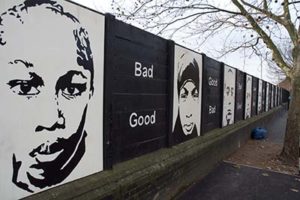
Artist Daniel Rarela created a series of memes that juxtapose quotations from Dr. Martin Luther King, Jr.’s text with images of King from the time period and with contemporary images. Rarela’s goal, as explained in a January 2017 News.Mic article, “Artist creates ‘Letter from a Birmingham Jail’ memes to stop people from whitewashing MLK.”
Rarela noticed people who had not protested the murder of black people by police, but who later spoke up about the death of police officers after a Black Lives Matter protest in Dallas, Texas. As these folks posted social media updates that invoked the words of Dr. King “without talking about the racial and economic justice he championed.” Rarela found their “selective compassion” troubling and designed his memes in response.
The memes that Rarela designed are no longer available in the News.Mic article nor on Twitter. Many have been archived by Caroline Yezer on ThreadReaderApp (also in this PDF). Among these archived memes is an image San Francisco 49ers quarterback Colin Kaepernick overlaid with King’s statements. The meme pairs an image of Kaepernick, kneeling during the National Anthem as a protest against racism, with King’s comments on the purpose of direct action. Together, the words and image communicate a powerful message about Kaepernick’s direct action, about the on-going battle against racism in America, and about the timeless relevance of King’s words:
Transcript of the Tweet and Meme
Memes as Models for Student Compositions
In the classroom, discuss the message Rarela’s memes communicate and the visual argument strategies he uses in his design. See Visual Argument Analysis from Colorado State University for questions you can use in analysis of the visual strategies.
After discussing Rarela’s designs, students can create their own memes, pairing images from current #BlackLivesMatter protests with relevant quotations from Dr. King and other civil rights leaders. Students can also use literary quotations from black authors, historians, journalists, and activists to illustrate or comment on the images.
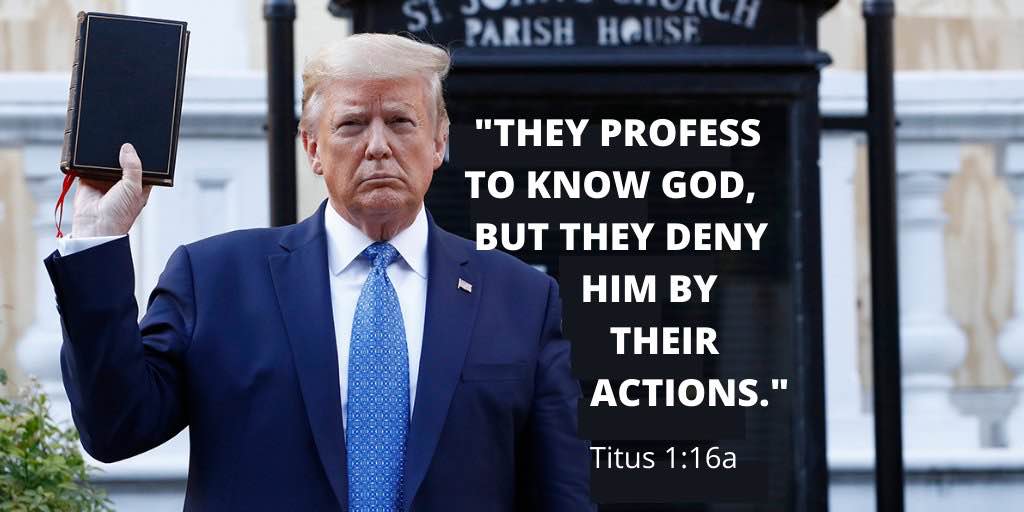
As another option, students can use quotations from other texts that comment in some way on the actions in the image. Compare Rarela’s images to the meme below, showing President Donald Trump in front of St. John’s on June 1. Use the NPR article “‘He Did Not Pray’: Fallout Grows From Trump’s Photo-Op At St. John’s Church” for background information on the image, if necessary. In this meme, the overlaid text comments ironically on the image, using a biblical quotation to comment ironically on the image of Trump holding a bible in front of a church.
Transcript of the Meme
Tools for Meme-Making
Students can use a free online tool like Canva or PicMonkey to edit their images. Spend some time in class demonstrating how to work with text and images in the software students will use. Show students how to find online help for the tools they use.
In particular, students need to understand how to create contrast between the image and the text that they add in the image editor. Rarela uses the stark contrast of the red background with white lettering to ensure Dr. King’s text stands out. As a class, you can explore other ways to highlight the text.
Original Example Following Rarela’s Design
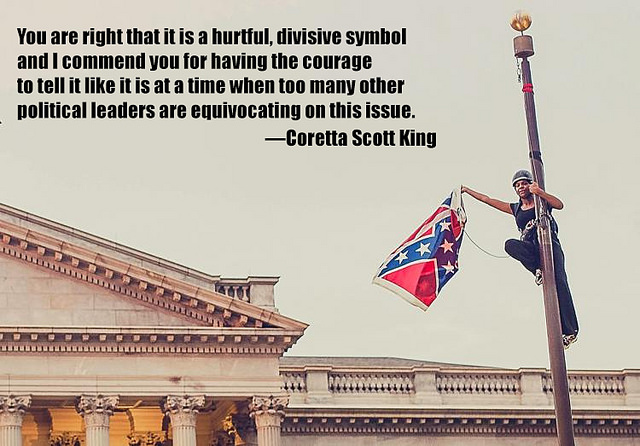
To demonstrate the idea, I created a meme, matching comments from Coretta Scott King with a political protest photo. The NPR story “Activist Climbs Flagpole At S.C. Statehouse, Removes Confederate Banner” provides background information on the protest, which occurred after the shooting of nine members of a black church in Charleston, South Carolina. The image pairs a photo of Bree Newsome removing the Confederate flag from the South Carolina Statehouse in 2015 with a comment Coretta Scott King made on the Confederate flag.
Transcript of the Meme
This post updates and revises “Making Memes to Illustrate Readings,” published in January 2017 on Bedford Bits in the Macmillan Community.
 I just updated a series of assignments related to writing a white paper, in response to a colleague’s request. The series includes a series of four assignments, which are listed and linked at the bottom of the Overview page. Students also wrote a short, informal progress report, which is not included.
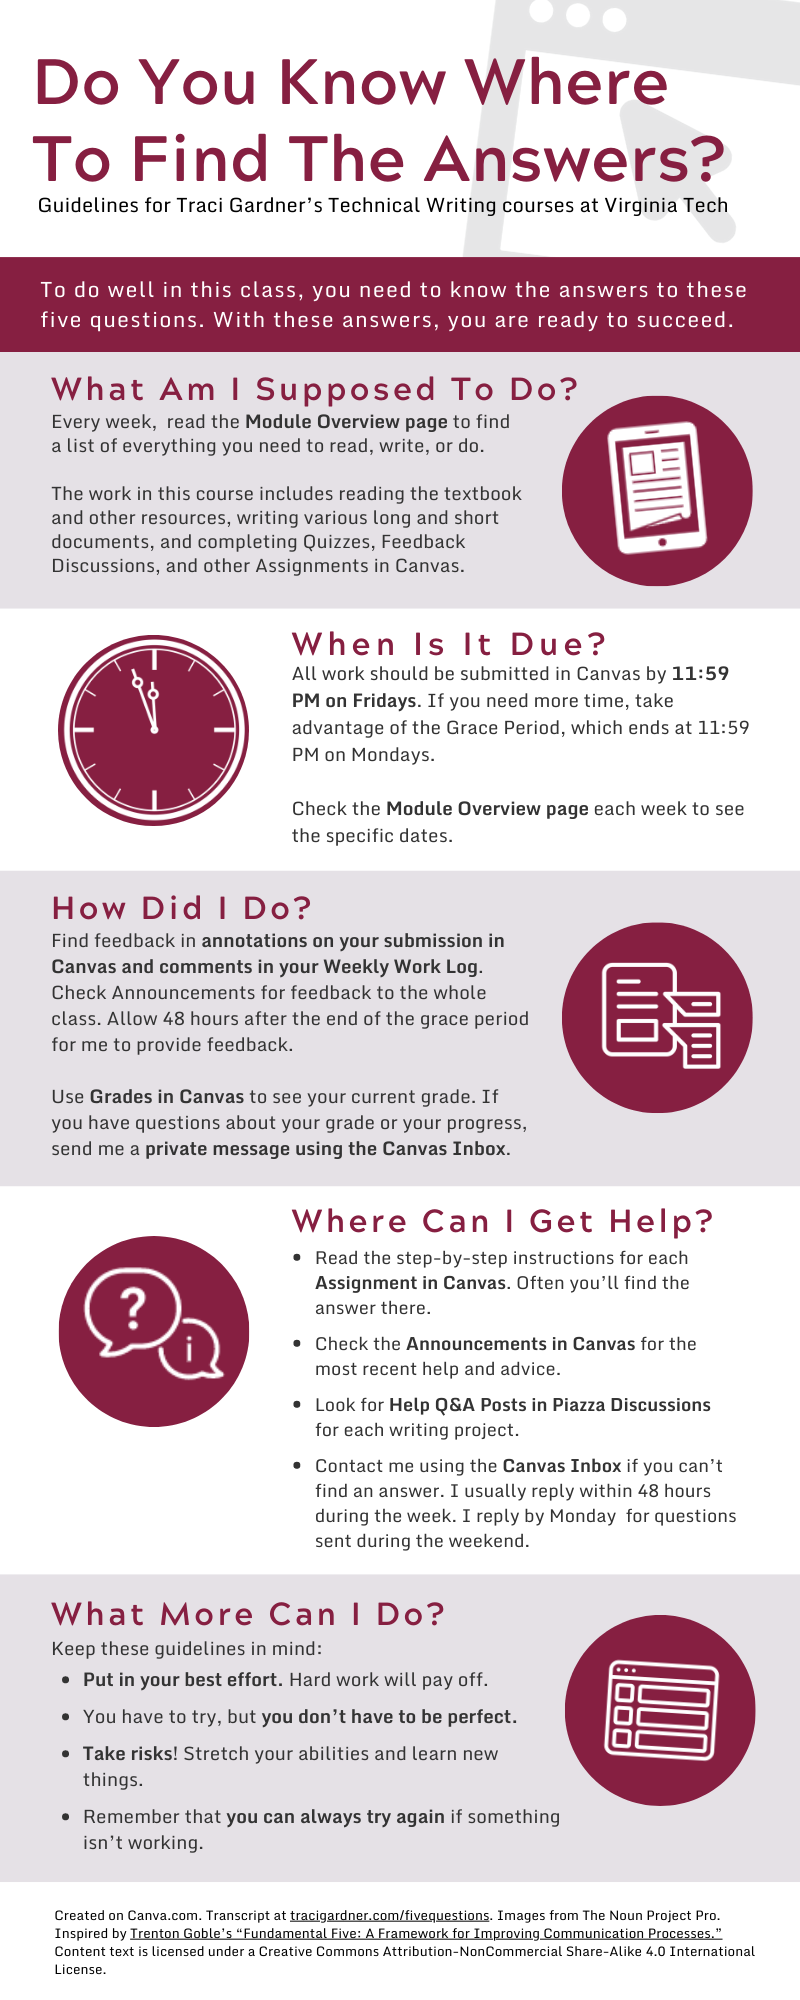
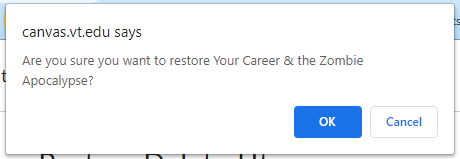
 The tool is not 100% effective, so be cautious when you remove information from your course.
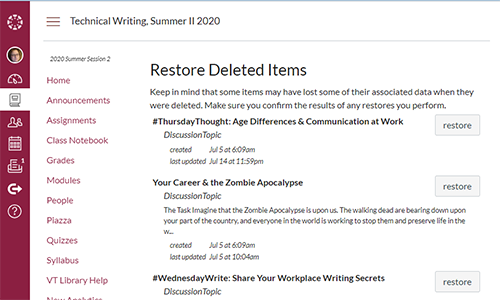

 Before discussing racism, we must prepare students to ensure the classroom offers an inclusive and safe environment to explore these issues. We have to be prepared to guide students through fair but honest discussions in ways that avoid emotional or highly charged confrontations.
 The move to online courses has many of us working to create videos that replace the explanations of concepts and demonstrations of skills that we would customarily do in the campus classroom. The strategies below help make those videos more effective.
 Now that everyone is teaching online, active learning strategies like minute papers and muddiest point are hard to manage spontaneously. In a campus classroom, you can ask everyone to share responses out loud or on a piece of paper. In an asynchronous online class, students aren’t able to participate in quite the same way.